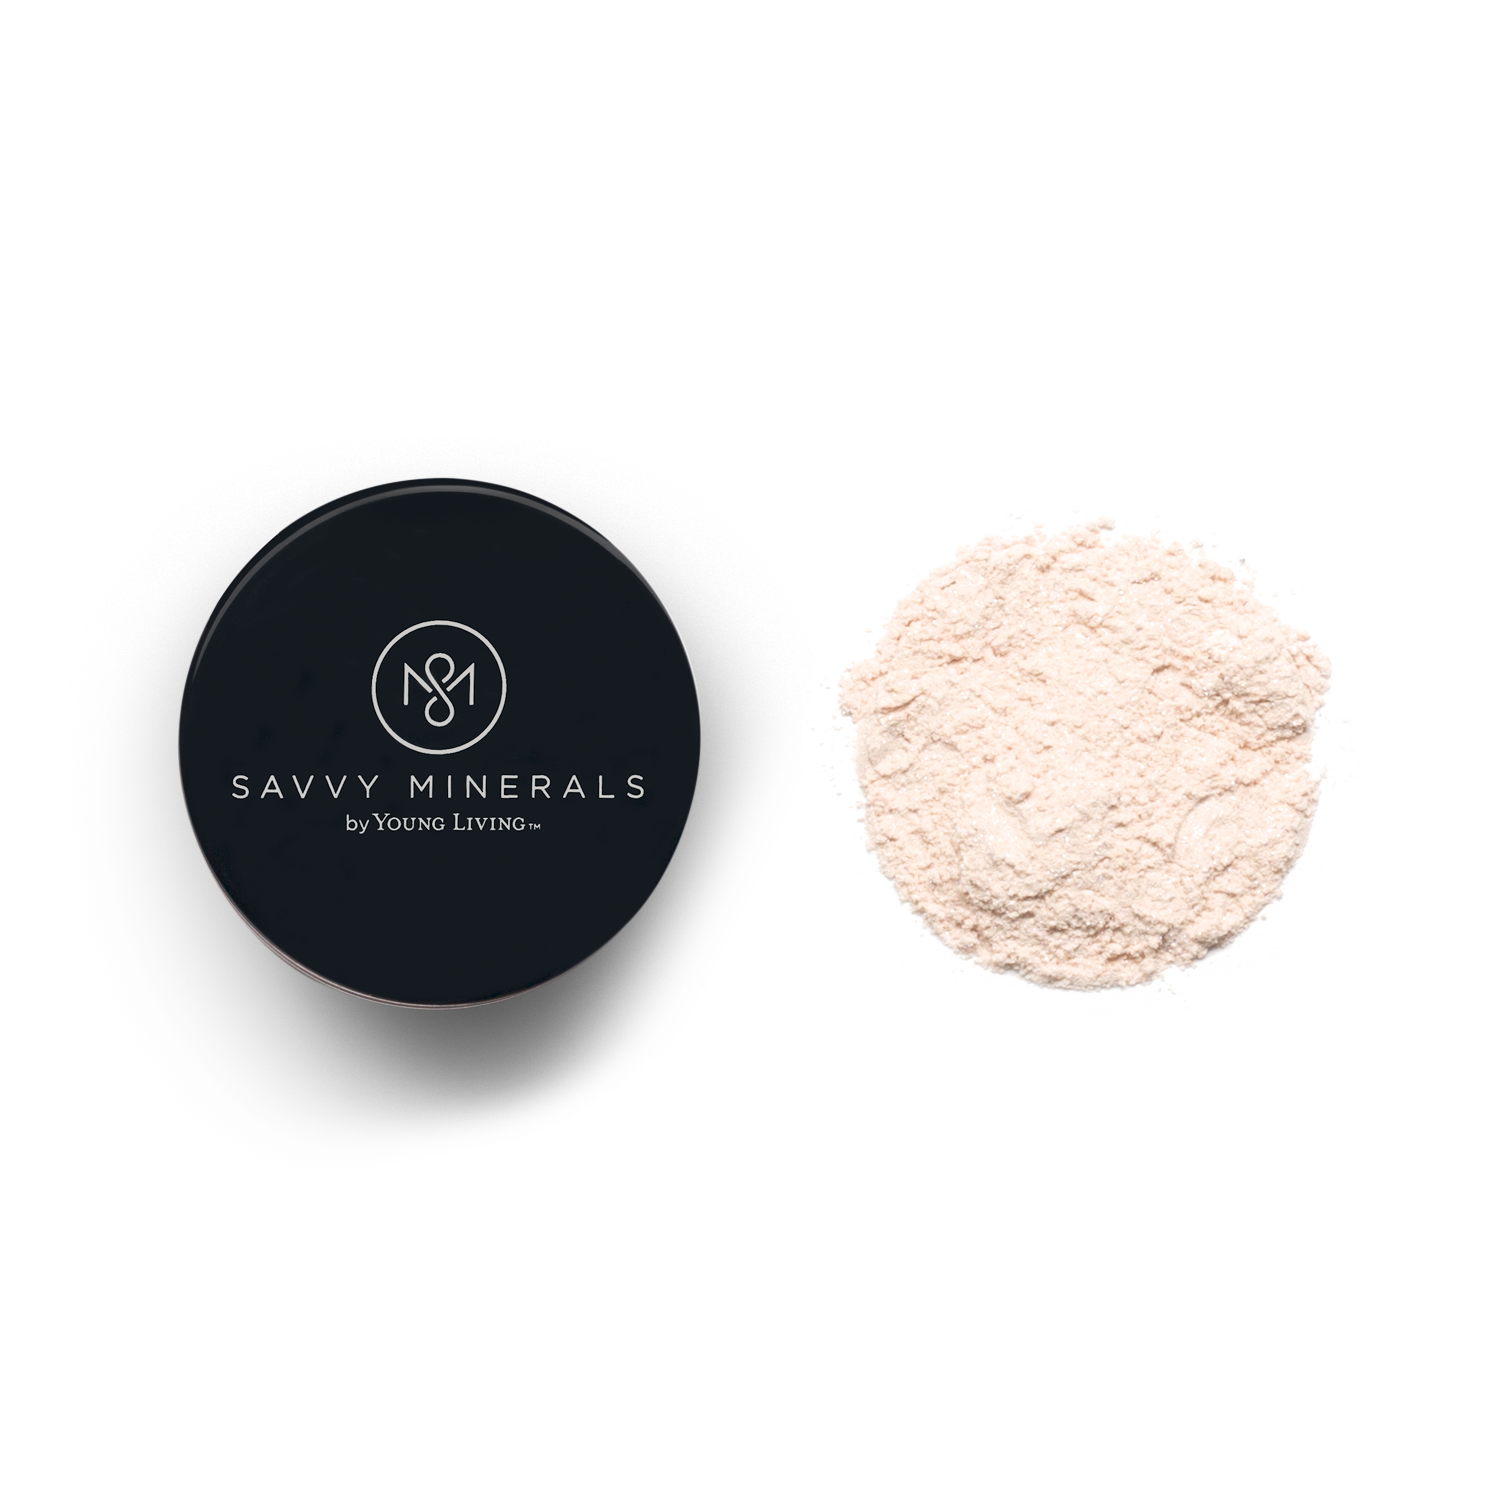
Mineral Makeup

Mineral makeup has been the rage for several decades, and the reason is that it binds to oils, not water. This gives mineral makeup a natural water resistance, making it much better for your skin than conventional cosmetics. Where conventional makeup contains a lot of nasties that can irritate sensitive skin, mineral makeup is generally better for sensitive skin.
But not all mineral makeup is created equal.
Mineral makeup has also received bad press due to the use of 4 nasty ingredients:
Nanoparticles
Nanoparticles are often not disclosed in the ingredients list. These particles are a million times smaller than a grain of sand (ie. one billionth of a metre in size). Studies are showing that, like asbestos, nano-particles don’t actually break down inside the body. And like asbestos, they can penetrate cell membranes, damaging DNA and triggering a form of mesothelioma.
In 2009, The Age wrote that, “Australian unions are demanding urgent regulation of the nanotechnology industry, citing mounting evidence that some tiny particles used in products such as sunscreens and cosmetics could be as harmful as asbestos.”
Bismuth
In addition to nanoparticles, some people say that mineral makeup aggravates their skin, and this is because other brands will sometimes use bismuth (a metal mineral), which aggravates the pores and can cause blemishes.
Talc
Mineral makeup can also contain Talc, which is now shown to be a major cause of ovarian cancer. Johnson & Johnson were recently ordered to pay $72 million to the family of Jacqueline Fox, whose death by ovarian cancer was linked to her daily use of Johnson & Johnson’s talcum-based Baby Powder and Shower to Shower products. It was revealed during the court case that Johnson & Johnson had known about the cancer link for decades, but had failed to warn consumers.
Synthetic Dyes
The skin irritation caused by some mineral makeups can also be from the use of synthetic dyes. Eg. Red colour can only be achieved with dyes. Even “natural” brands like Bare Minerals choose to use dyes in their products. And some of the dyes used in regular mineral makeup brands contain lead, and have even been linked to neurological seizures!
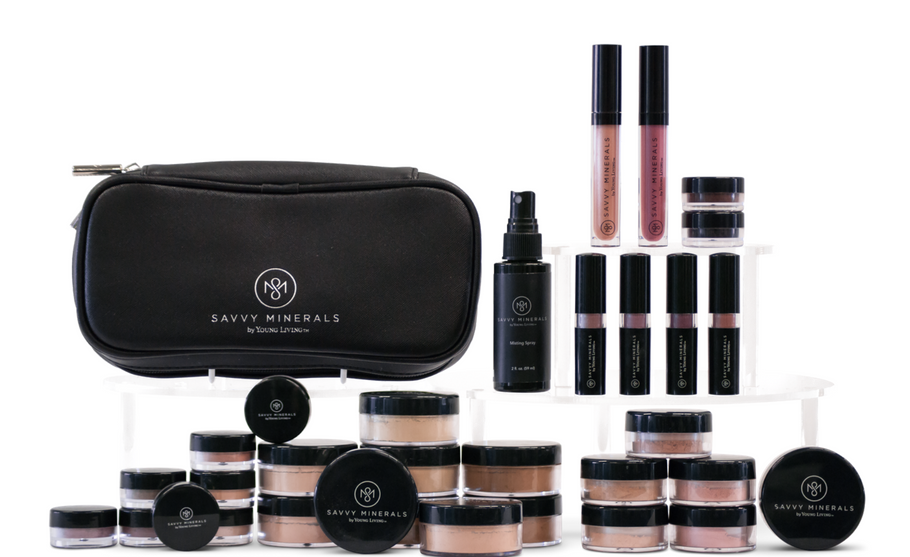
Instead of these nasties, Savvy Minerals by Young Living contains ingredients to make your skin glow, such as:

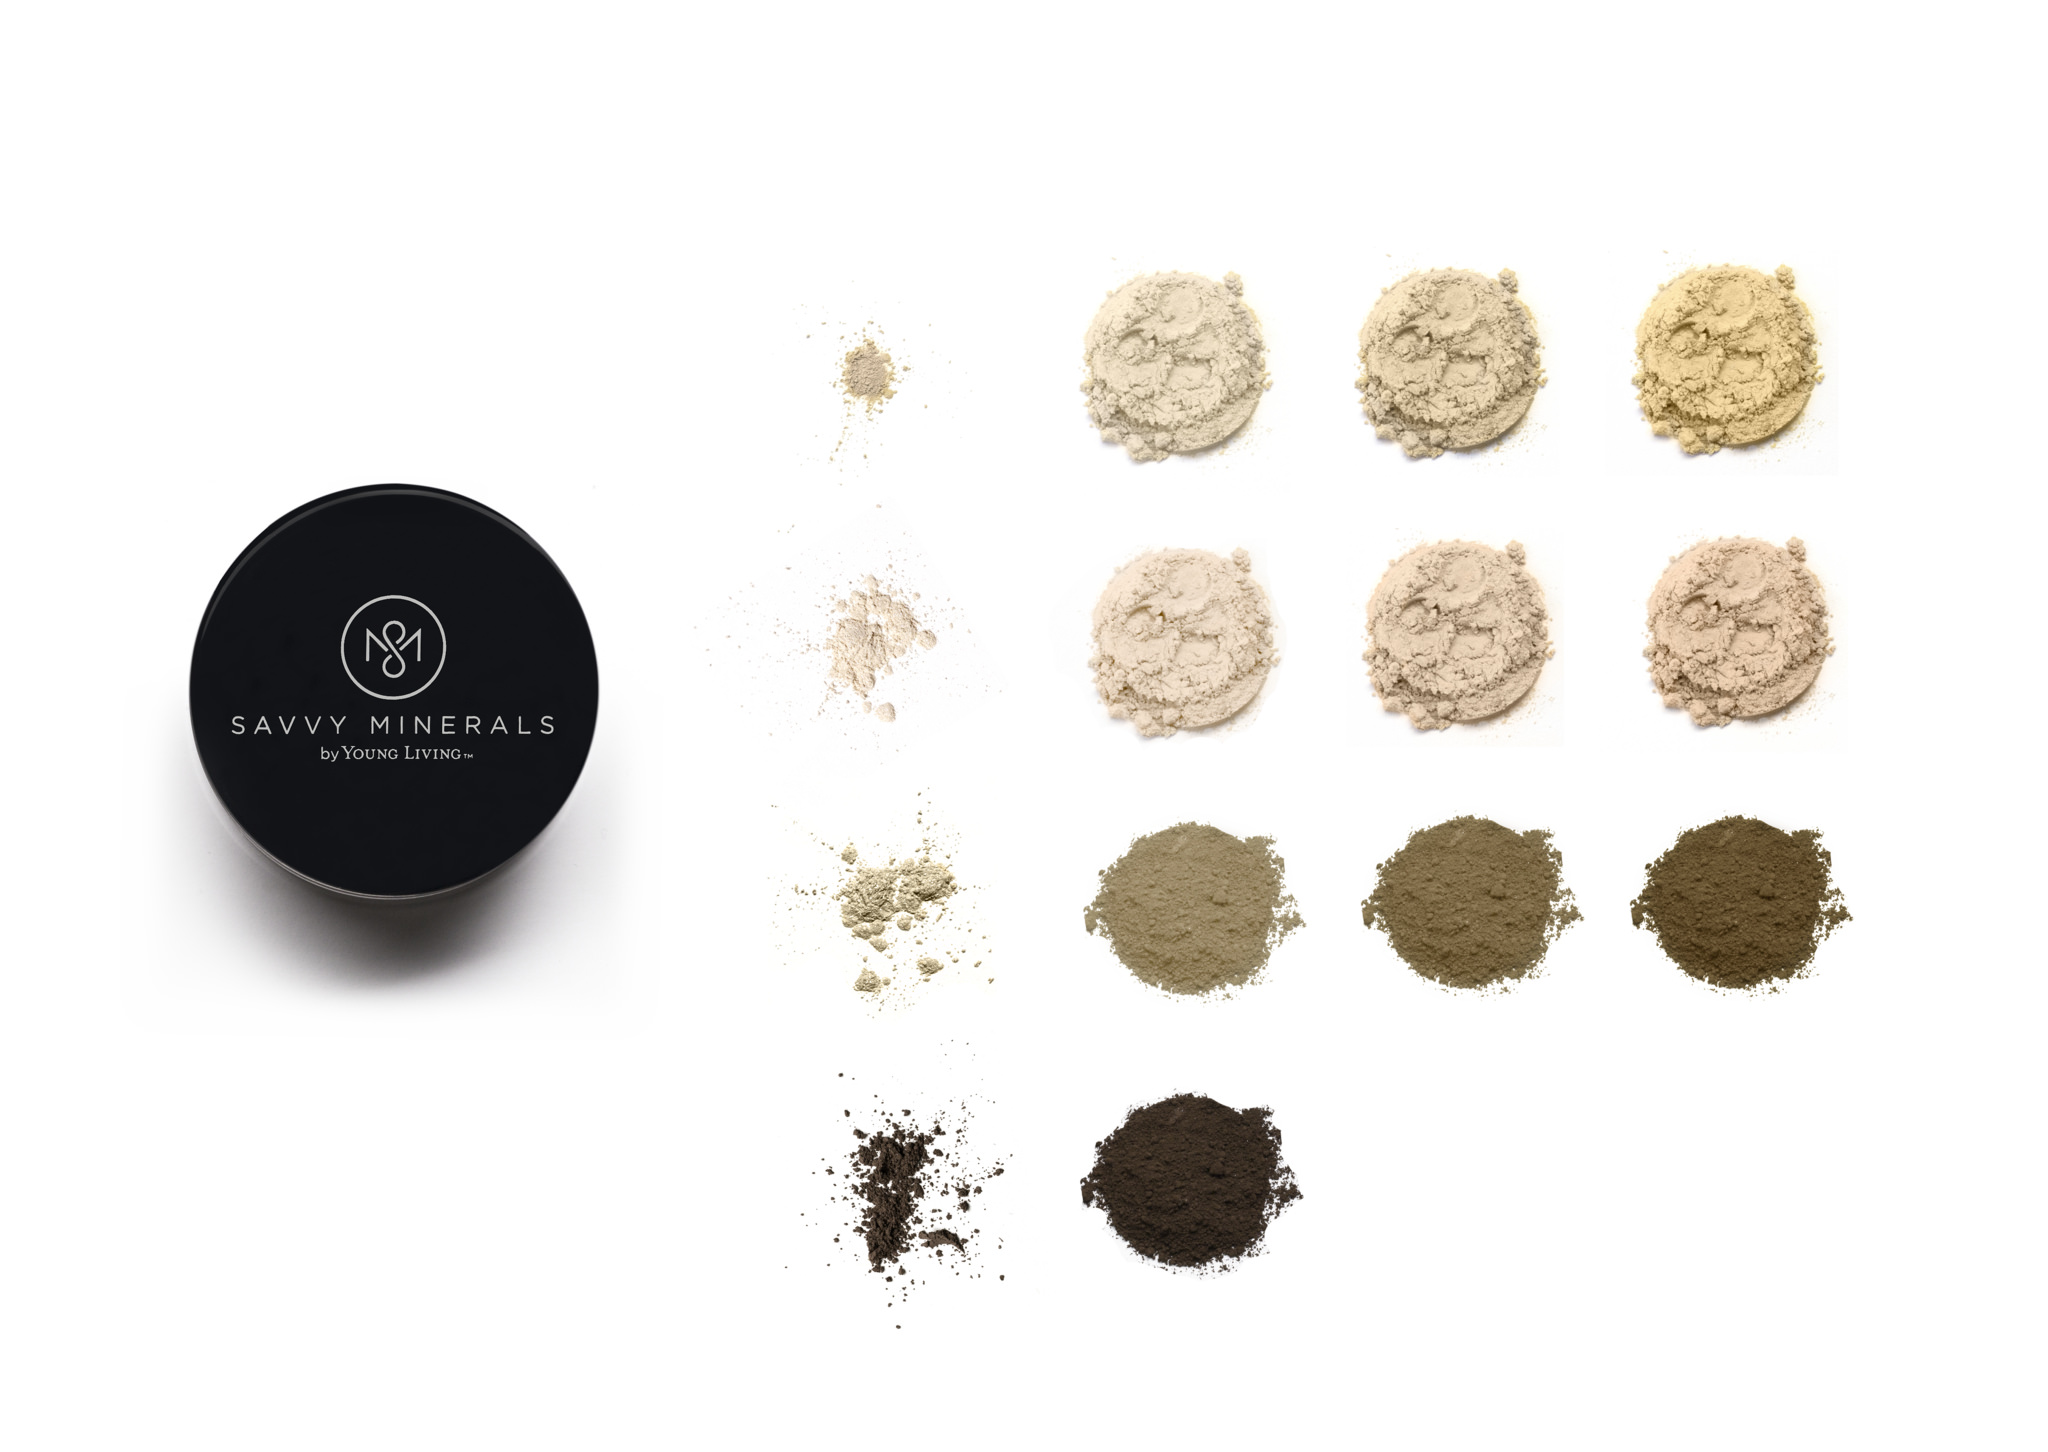


Savvy Minerals foundation is so forgiving, that it will still look great even if you choose warm when you should be cool, or vice versa. But here’s a simple guide for you to follow:
You are warm if:
You are cool if:

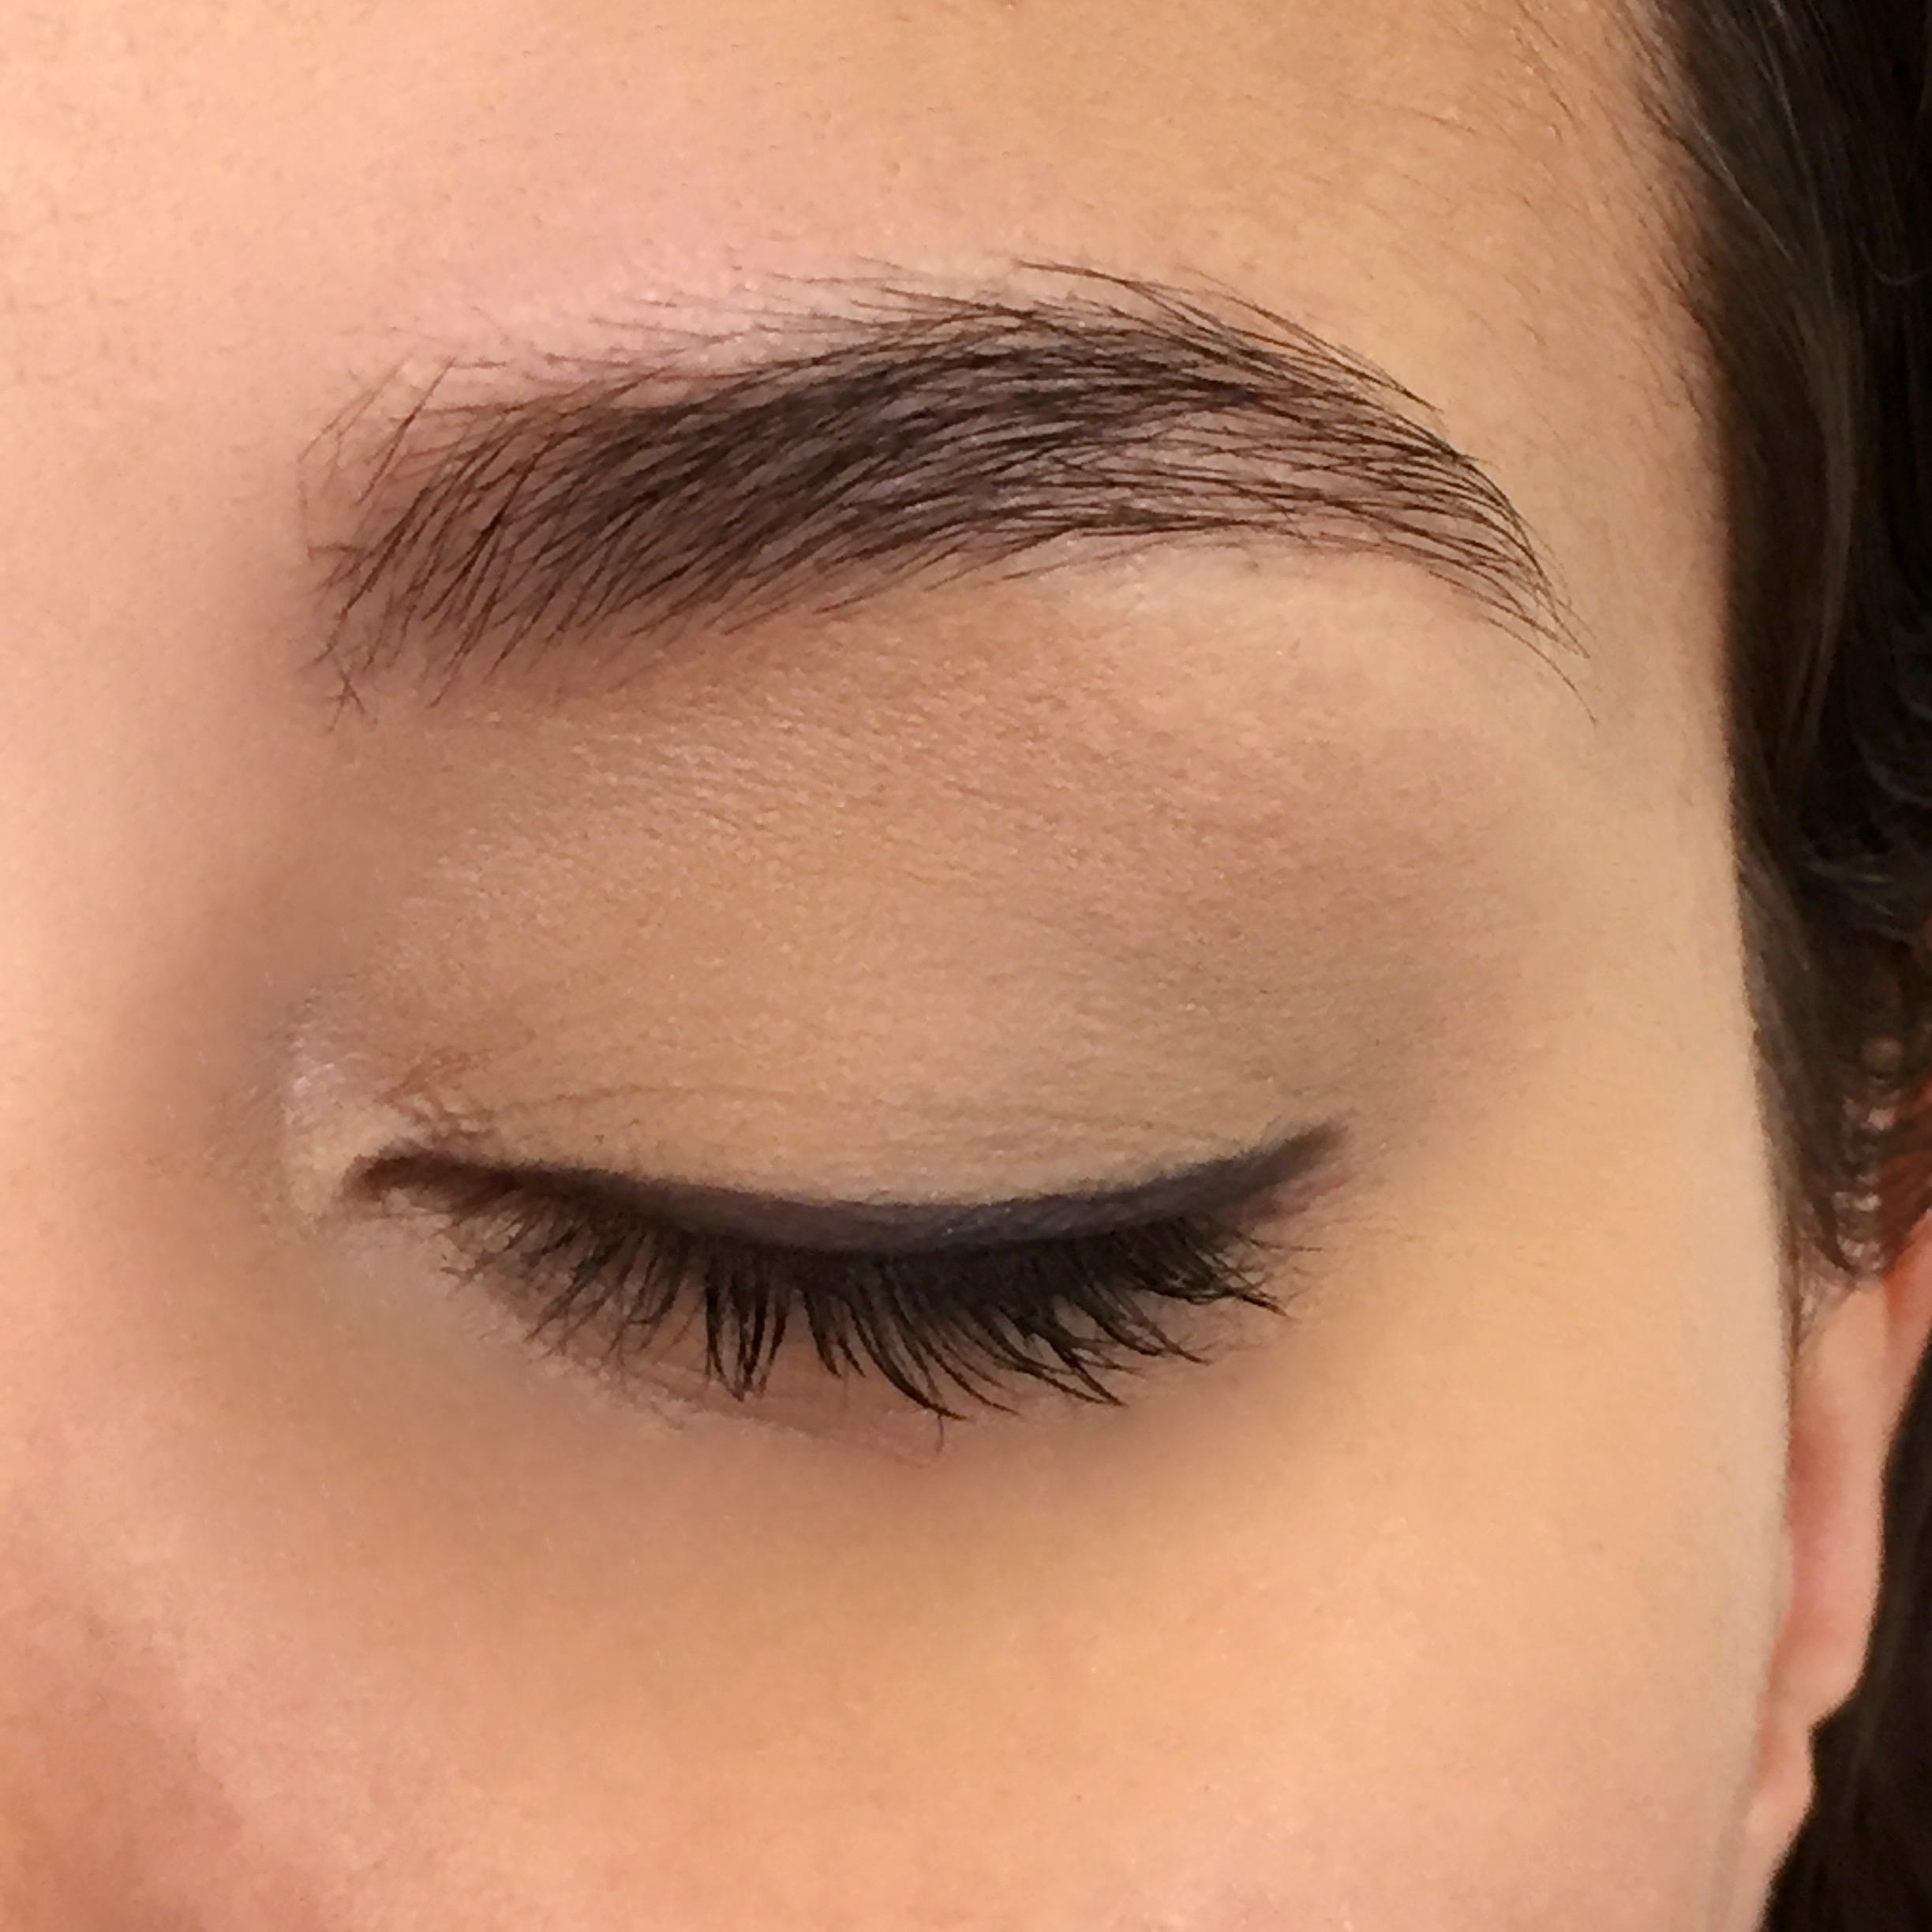
Begin by cleansing your face with ART Gentle Cleanser, to remove any dirt from the pores.
Tip: Depending on what brush you use, the mineral eyeshadows can drift down onto the upper cheek as you apply them, and can smudge to look like a dark shadow. To avoid this, apply your eye shadow before you apply your foundation.
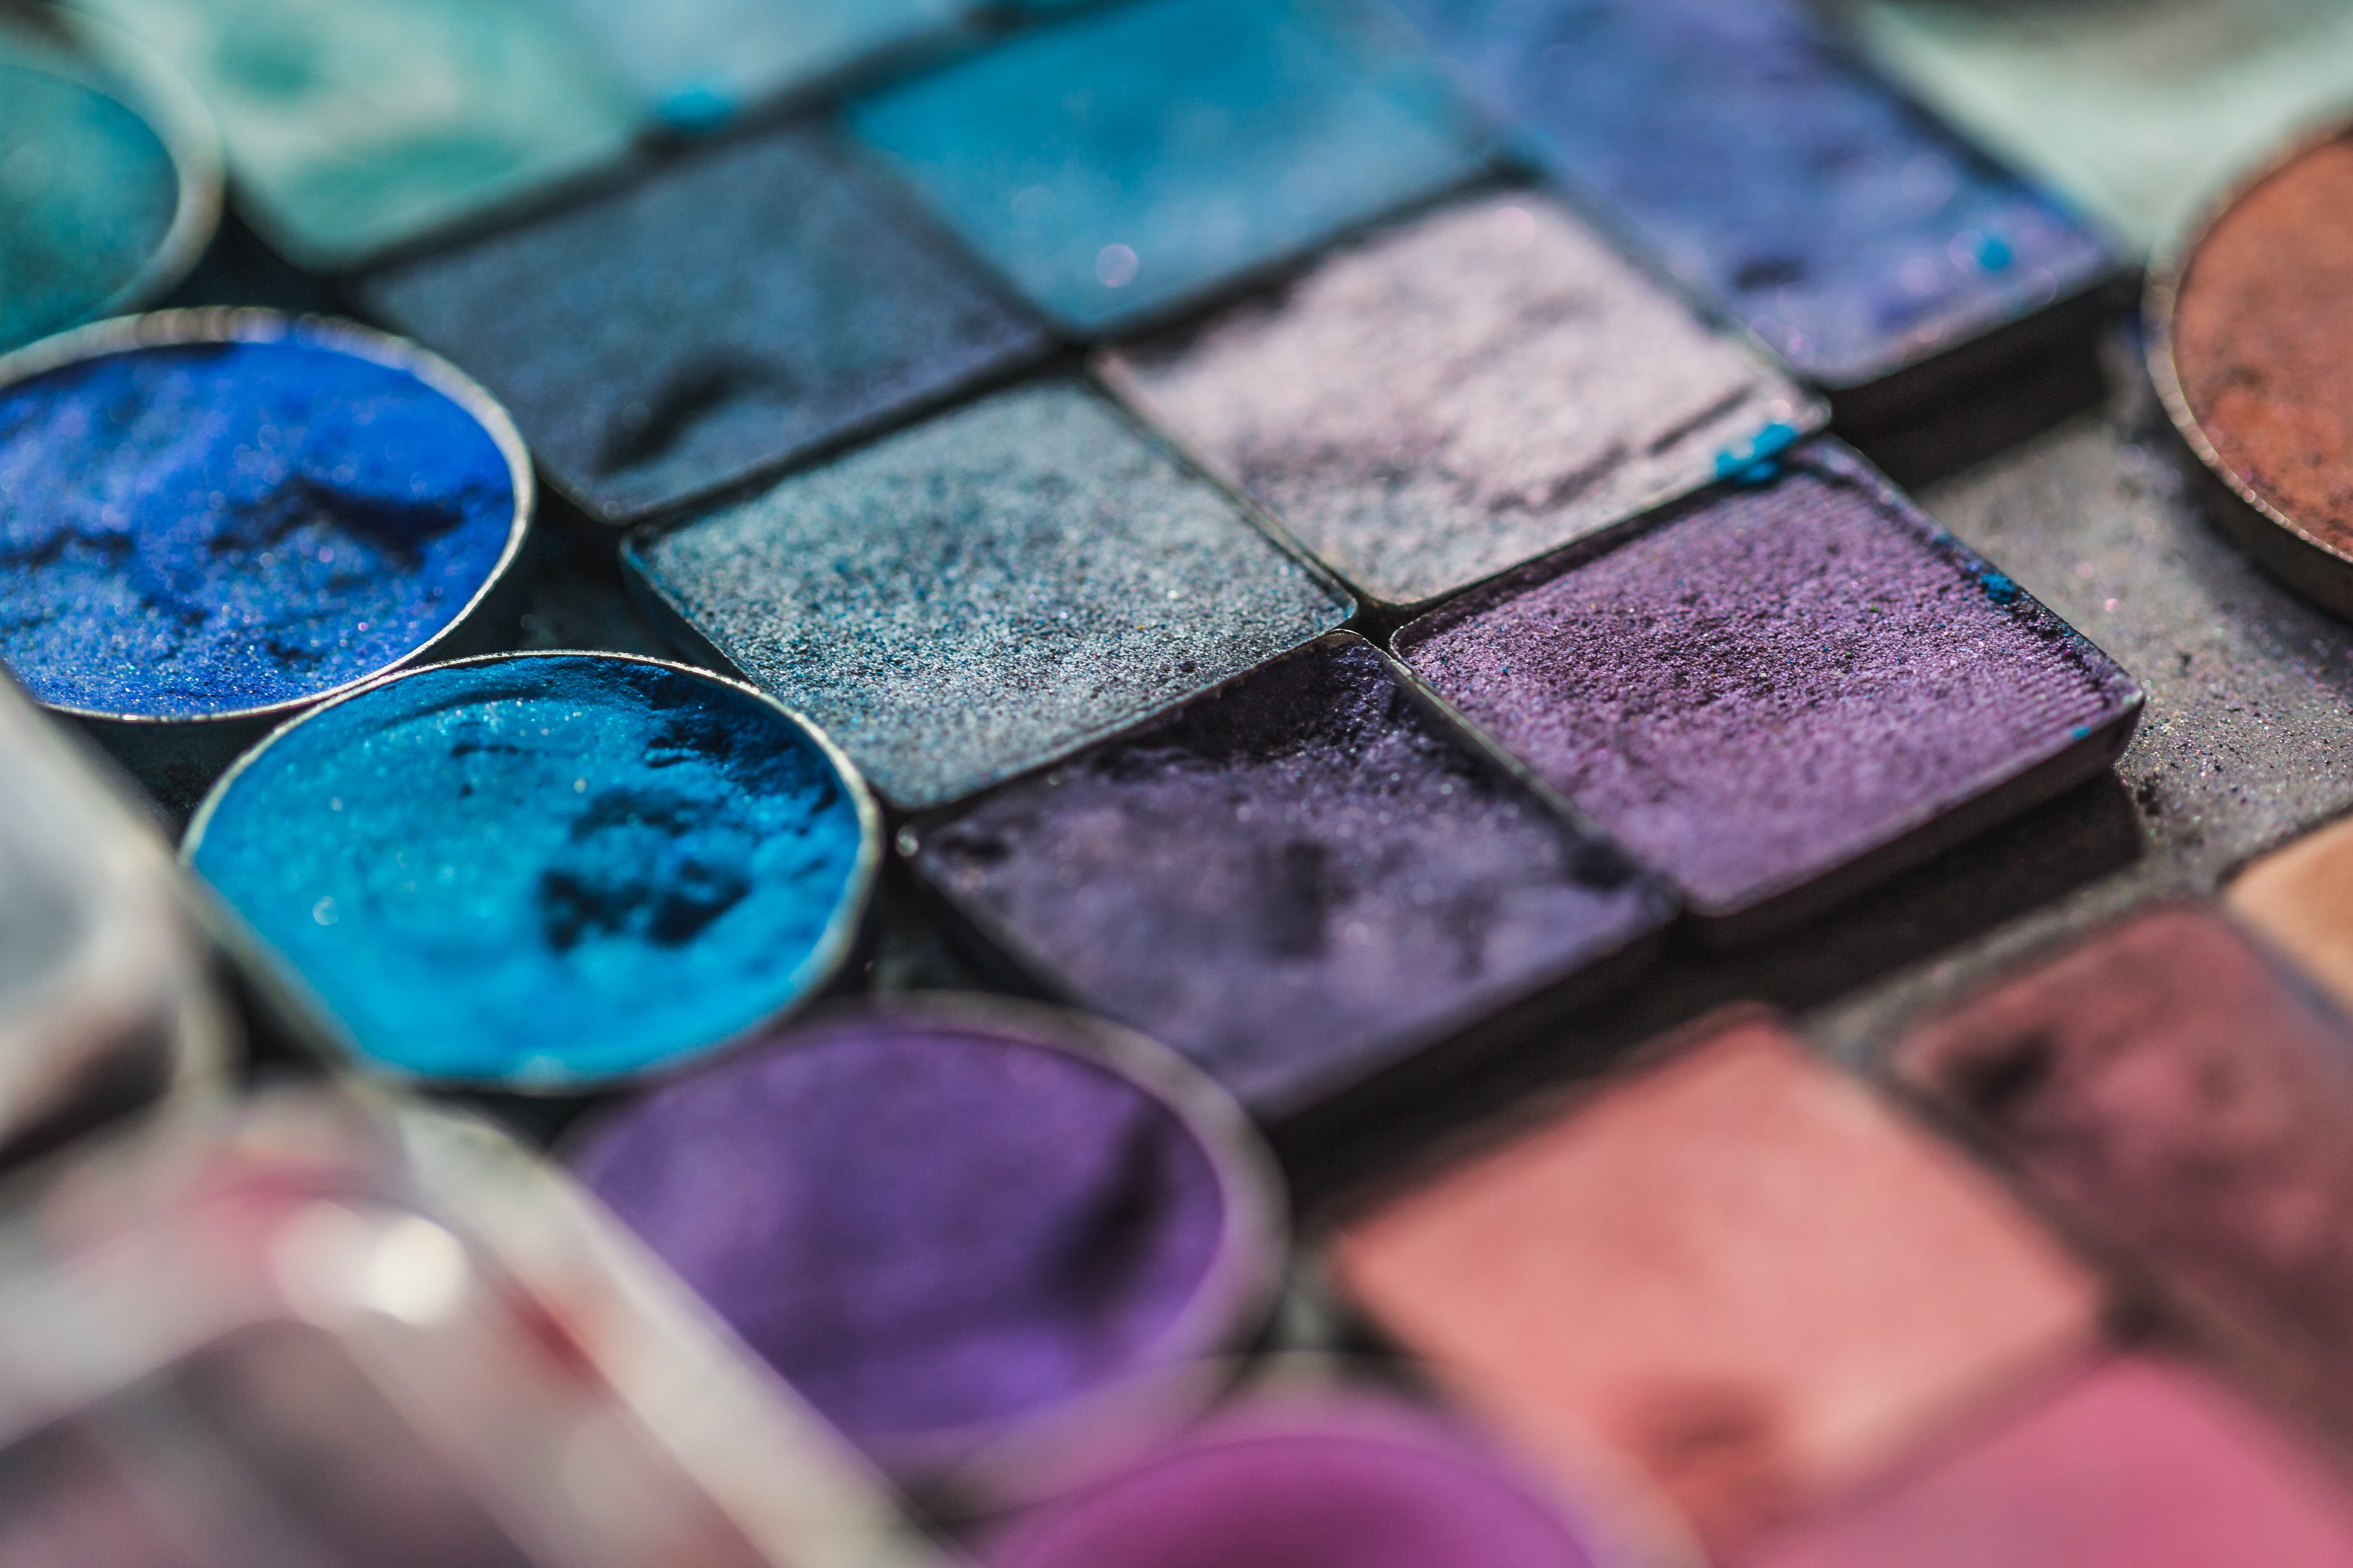
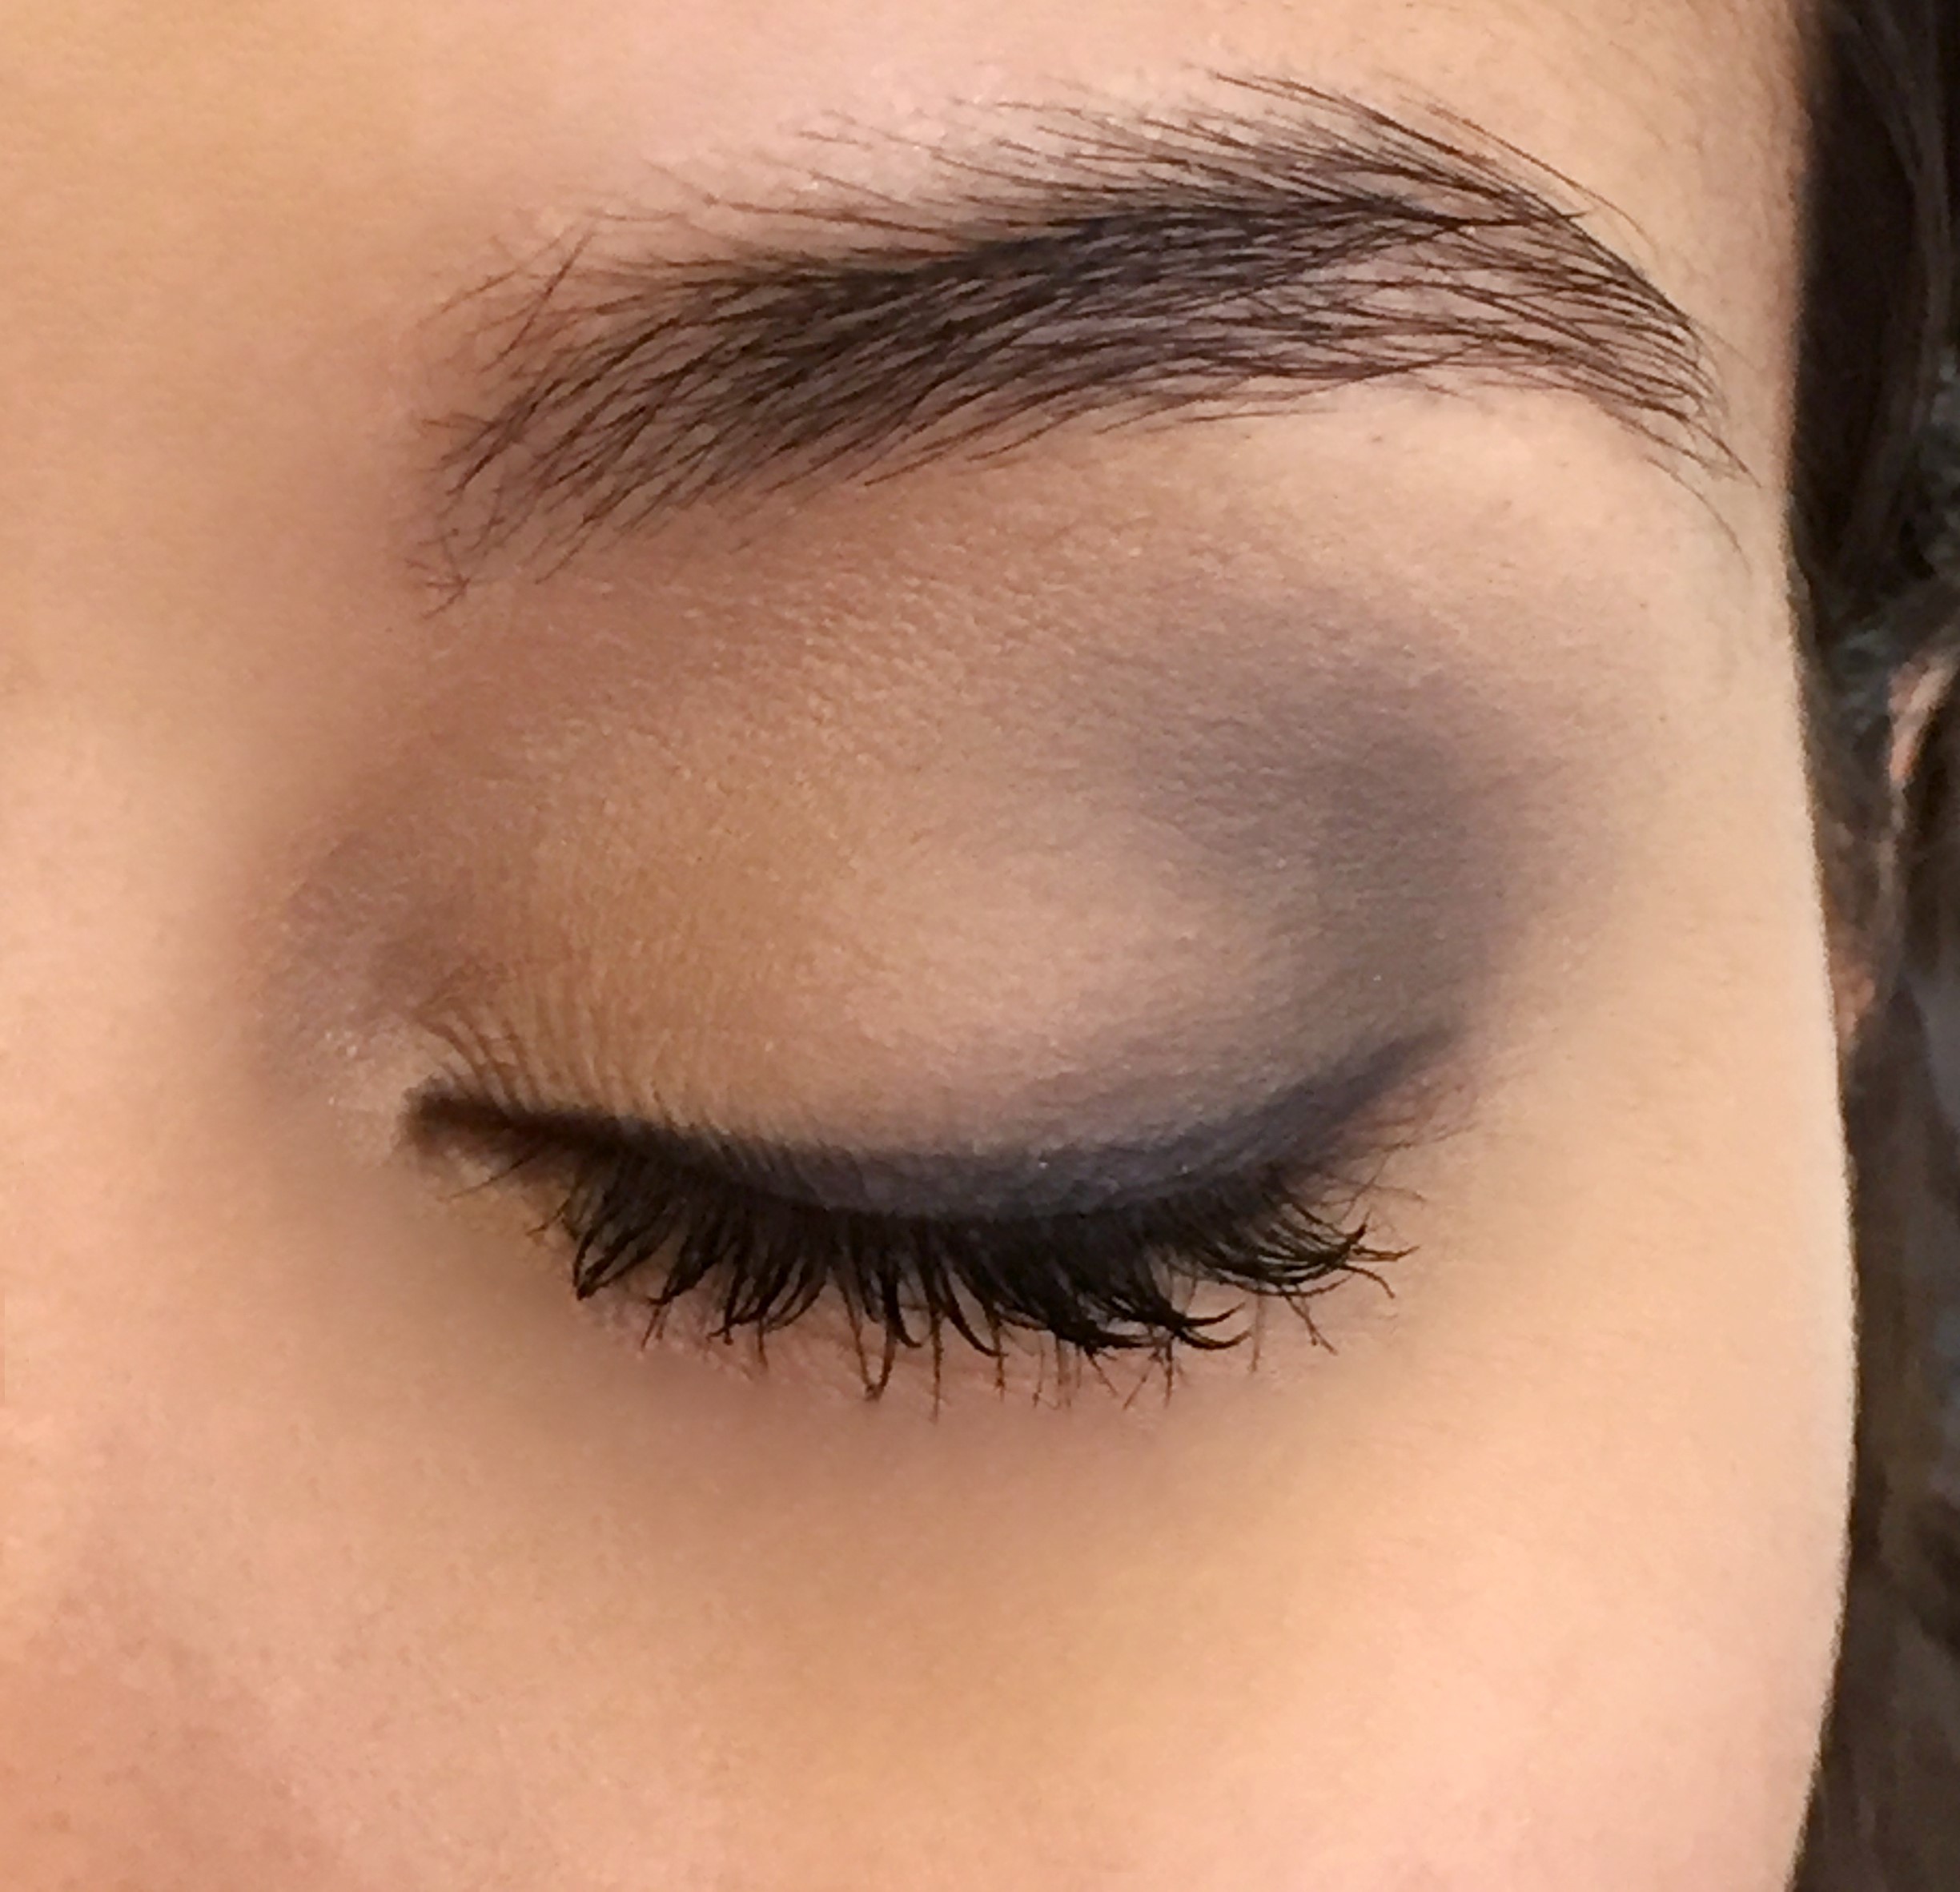
Mineral Eye Shadow
Mineral eye shadow gives you huge scope to create custom colours, and it always looks stunning
Tip: Apply a couple of sprays of Misting Spray onto your brush then dip it into the eye shadow. It will create a completely different look compared to the dry powder – very dramatic, shimmery, and perfect for the evening event.
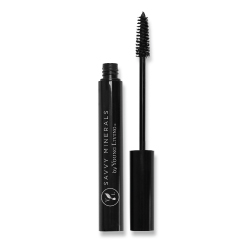
Eye Liner & Mascara
TIP: For a softer look, apply the powder dry. For a liquid eyeliner, don’t remove dampness from your brush after spraying with misting spray – this will liquefy the powder to create an easy-to-apply eye liner.
TIP: For best results, use either a very fine eye-liner brush, or a narrow wedge-shaped brush to apply your eye liner
See below for more ways to use your Multitasker.
Applying your Foundation
TIP: If you apply mineral foundation dry, your face can look dry. Instead, prime your face first with ART renewal serum then ART light moisturizer.
TIP: This foundation is designed to be applied to the skin in layers. This means you are best to start off light. Give the foundation a chance to breathe. It will change with the level of acidity in your skin. Then apply a little more, and so on, until you achieve the desired result.

Contouring in 3 easy steps
Contouring works like a “drop shadow” to help the beautiful features of your face stand out. For example, it can be used to create a thinner looking jawline, and to enhance your cheek bones.
It needs to be done with a darker tone than your foundation, so either use one of the darker shades of foundation, or your bronzer. It can also be applied with a narrower brush to your normal foundation.
Think of the letter E superimposed over your face, so that the descending line of the E is the very sides of your face at the hairline. You will be applying your bronzer or darker foundation to the 3 horizontal arms of the “E”, as follows:

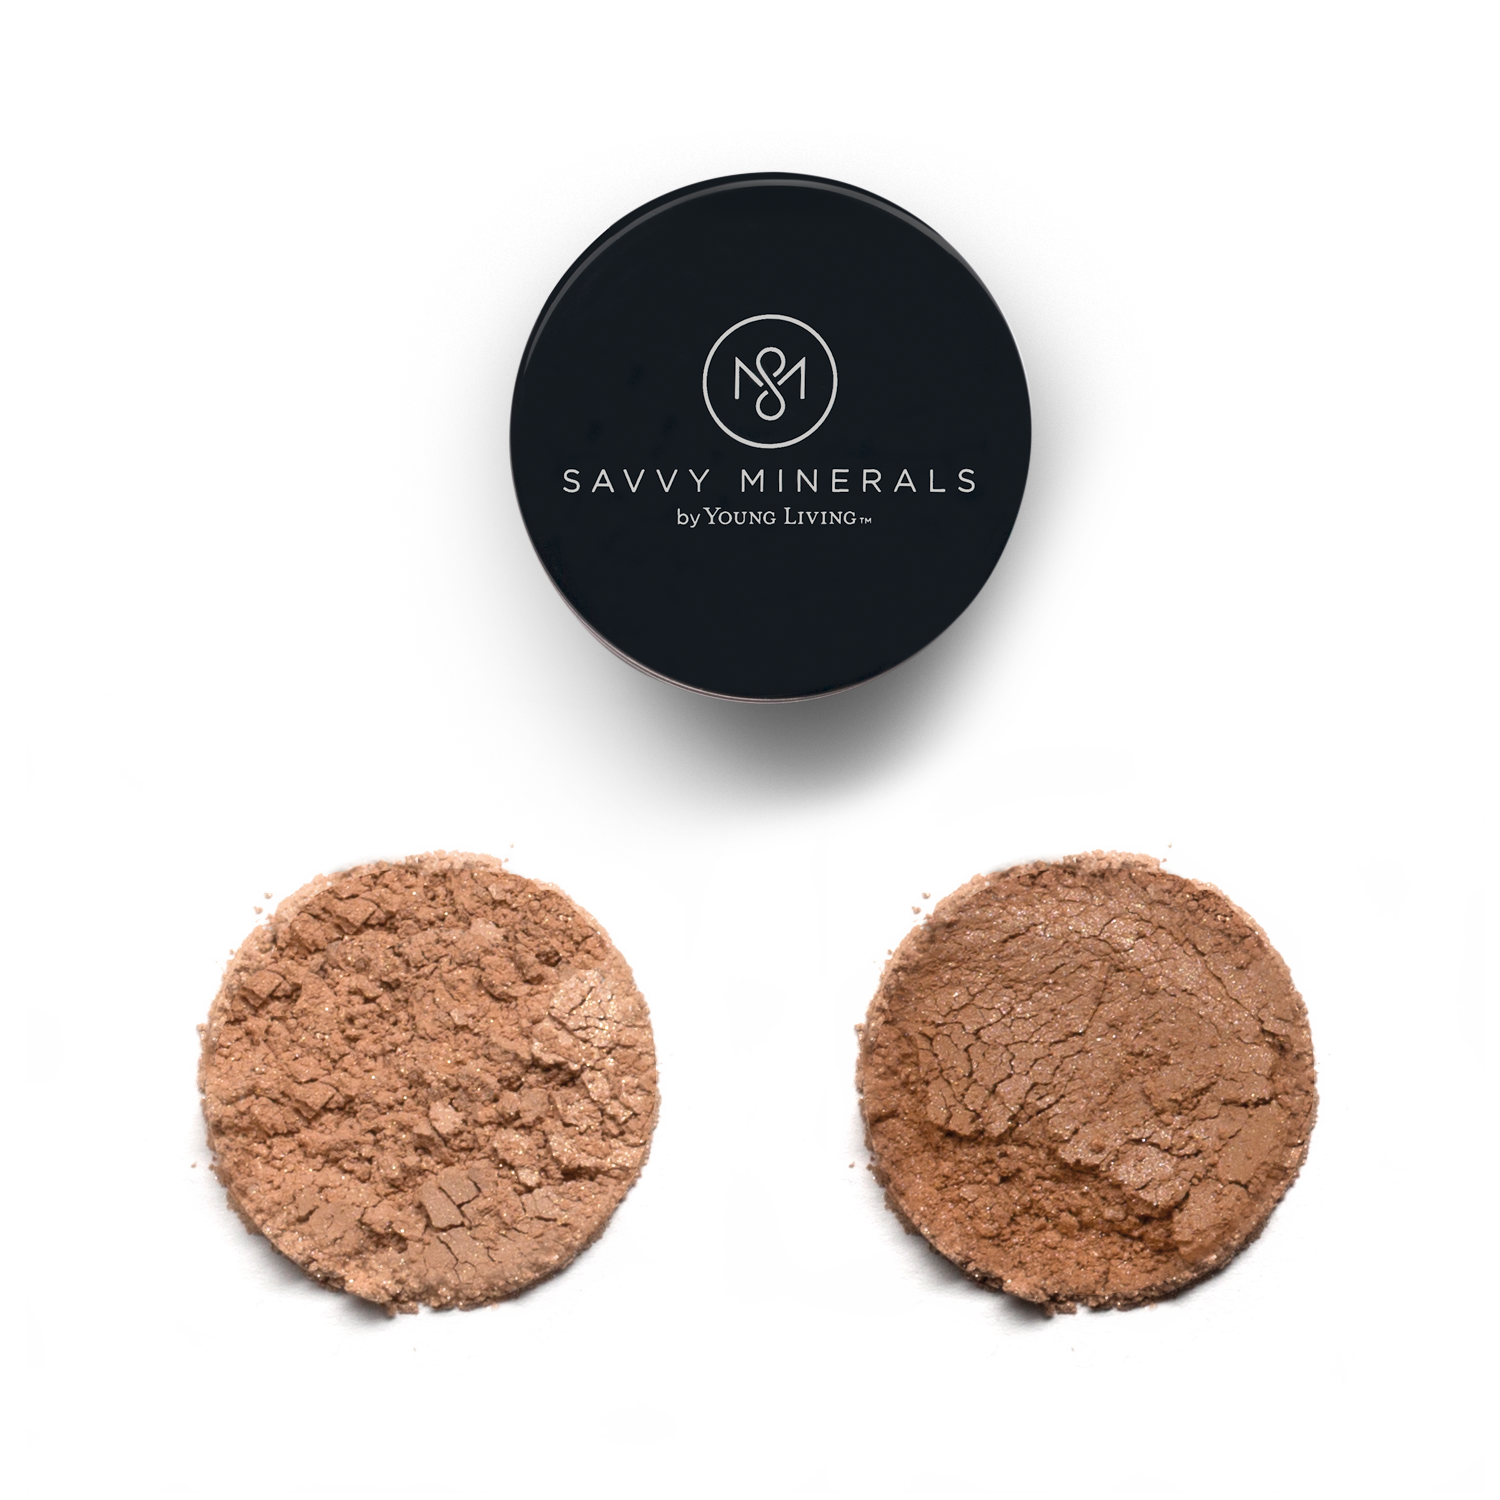
Optional: Applying your Bronzer for a sun-kissed look
TIP: As with your foundation, start with a small amount and build it up in layers to avoid over-application.
I’ve already explained how to use your bronzer to contour your face. Alternatively you can use it as a bronzer – to mimic the way the sun will kiss your skin! Sprinkle some of the powder into your palm or into the lid of the bronzer. Dip the brush into the powder, then lightly tap the brush handle against the side of the lid to remove the excess. Apply the Bronzer to areas of your face where the sun hits naturally, including cheekbones, bridge of nose, forehead, and chin.
Applying Blush for a natural healthy glow
TIP: As with your foundation, start with a small amount and build it up in layers to avoid over-application.
TIP: We have a range of blush colours in the Savvy Minerals range, however “I do believe your blushin’” is a very popular one amidst makeup artists.
For best results, always apply your blush using a makeup brush. After applying your Foundation, sprinkle a small amount of Blush onto the lid of the jar, or into your palm. Dip the brush in to pick up the powder, then lightly tap the brush handle onto the bench or against the side of the lid to remove the excess powder. Apply the Blush directly onto your cheeks (to the “apples of the cheek”), then blend it along the cheekbone towards the temple.
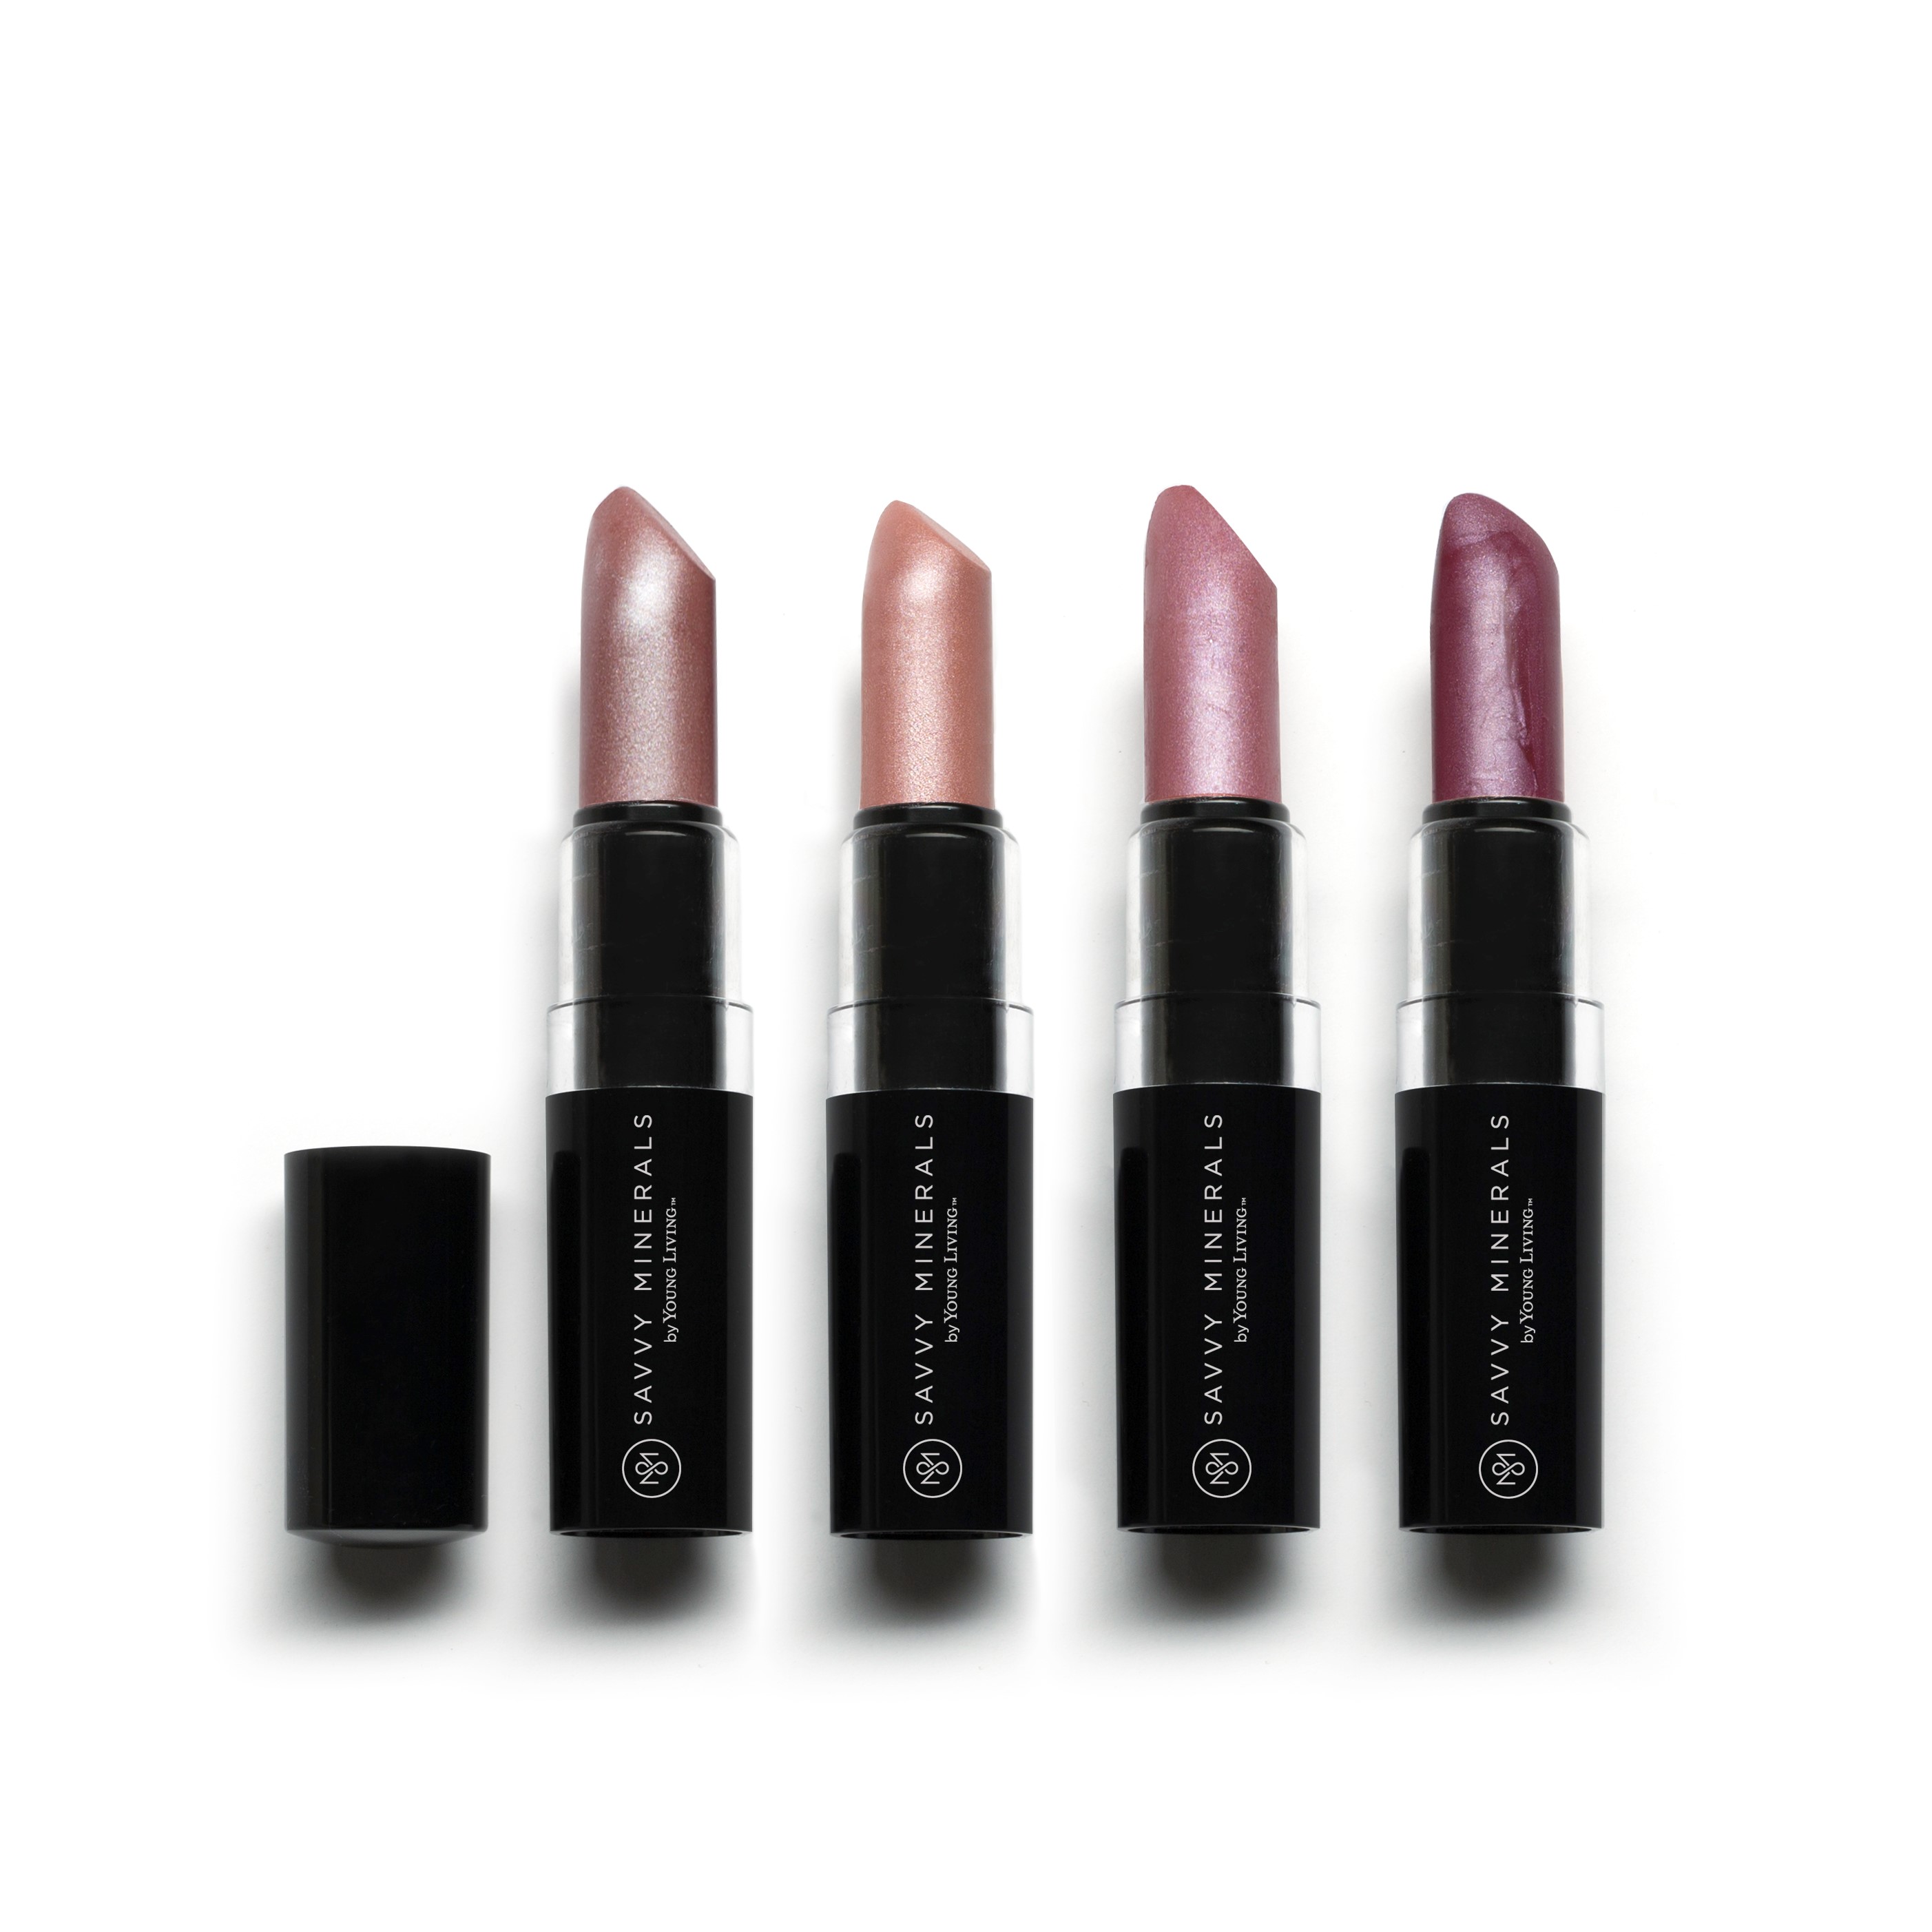
Lipstick and Lipgloss
TIP: Normally you’d apply your lipstick and then apply lipgloss over the top, however if you only have 5 minutes, just the lipgloss or lipstick on its own will do.
When 5 minutes is all you have:
Here is your quick and simple way to create a statement:
The Miracle of the Multi-tasker
This is a fabulous way of stream-lining the size of your makeup collection, and saving money through having one product instead of three.
So here’s how you use it….

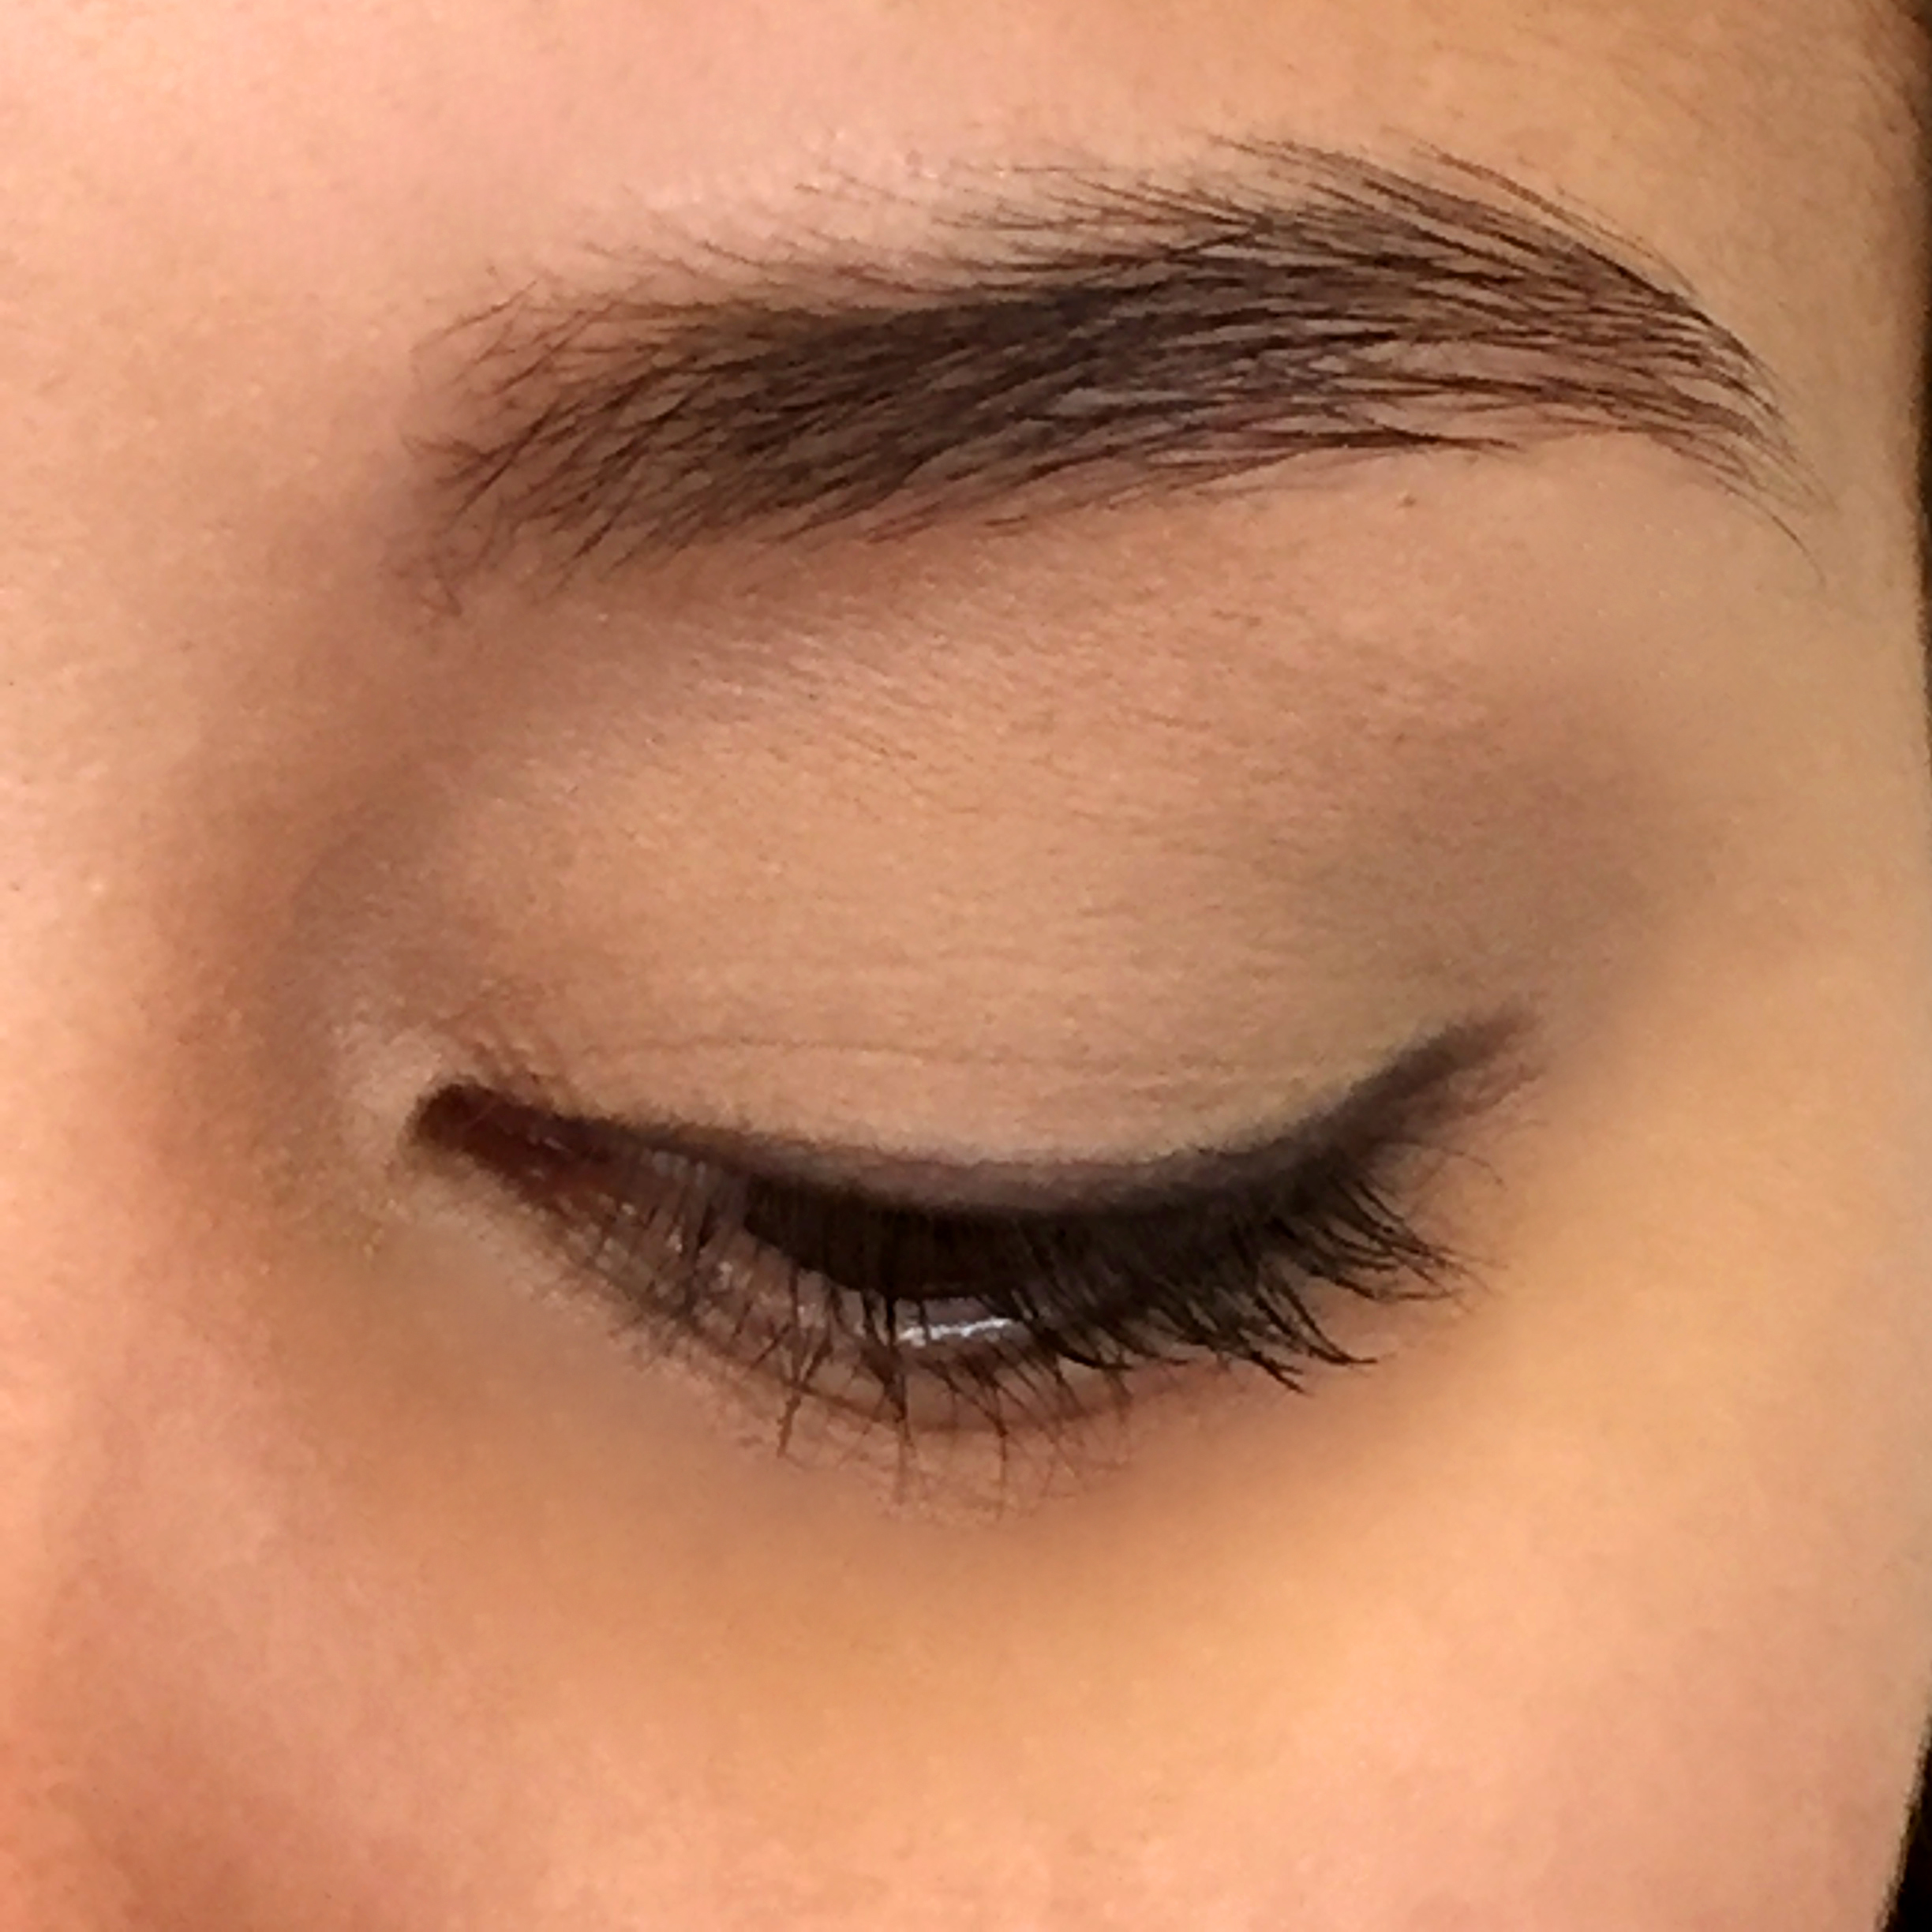
Step 1: Under the eye
Draw an imaginary line from the centre of the pupil down to the lower eyelid. That’s your starting point on the lower eyelid for your Multitasker. Apply it under the lashes, working out towards the outer eye…but here’s the secret:
To make your eye look larger and therefore more dramatic, apply the Multitasker in a horizontal line out from the centre of the eye, instead of following the shape of the eye.
Then slowly smudge the line, starting in the centre, and working your way to the corner of the eye. You’ll end up with this beautiful faded line under the eye.
Step 2: Above the eye
With the top lid, you’re going to start at the outer eye and work your way in. Instead of stopping at the half-way point above the pupil, work the line all the way over the eye to the inside eye where the tear duct lies.
Close your eyelid, and start with a thicker line at the outer edge of the eye. Blend it in to a narrower line once it reaches the inner edge of the eye.
It looks really great if you do this twice over the upper lid, ie. apply a little bit, look at it, then apply again so you are layering it.
Tip: If you want a more dramatic look, spray your eyeliner brush with the Savvy Minerals Misting Spray. Dip your brush into the Multitasker Powder, and apply another line of the Multitasker (wet) over the top of the smoky eye.
This will now work like a liquid eyeliner, and will create a beautiful depth in your eye artwork!
Step 3: On the eyelid
The Multitasker powder is amazing! Simply dab your finger in it, and brush it lightly across the top of your eyelid, then add some mascara.
Depending on the shape of the eye, you can smudge it all over the lid and into the eye crease (don’t go above the crease). That is quick and beautiful.
Samala’s Beauty Tip: I like to layer and layer, because it stays on all day that way.
Step 4: Define your Eyebrows
Why define your eyebrows with Multitasker? It’s because your brows frame your eyes, so having a beautiful eyebrow line will lift your whole face. It gives both shape and character to your eyes.
To apply the Multitasker to the eyebrows, start with an angled brush, and softly layer it on. You can wet it and use it wet, which is more of an art form.

Samala Robinson worked for many years as a professional makeup artist, doing the makeup and styling for fashion shows and high fashion magazines, as well as 10 years of managing the makeup and wardrobe department for New Zealand’s TV3. Now Samala coaches talented young makeup artists through the Samala Robinson Academy of Fashion Makeup.
Samala says, “The Multitasker is such an amazing product. You can apply it softly, which is great for people who are new to makeup.
“It can be used to give you that gorgeous smoky eye look, which I call the “Celebrity Soft-eye Look”. Everyday women are after that look, and here’s how you can create it. Alternatively you can moisten it and use it as a liquid eyeliner, which will give you a more dramatic look.
“The Multitasker stays on all day, doesn’t feel like it’s on the eyes (ie. it’s not heavy), and the colour tone is absolutely PERFECT (which is so important for professional makeup artists).
“I’ve never seen a product work that well on someone’s eye. Other companies have tried, but they just never seem to get the pigment and colour tones right, or it doesn’t blend well onto the eyes.”